What is This Code? CSS
CSS is great for making a website or PDF look exactly the way you want. But it can be a bit of a pain to figure out. Hopefully this will help you get started.
Friday, Sep 04, 2020 By Hope Snyder.
Without a doubt, the hardest thing that I had to face when creating this blog was adjusting the CSS. If I was able to alter the CSS properly, I could personalize this blog and make it look anyway I want it to. The problem with CSS however, is that it is notoriously hard. It is a challenge to see exactly how it changes things in your documents because of how it interacts with HTML. Like mixing potions, the ingredients are important but also it matters how you cook and mix them together. The CSS defines how the ingredients should be mixed and the HTML states what ingredients should be used. Like any good potion it is a challenge to put together correctly, but it is well worth the effort.

What Does CSS Do?
CSS stands for Cascading Style Sheet. With CSS, you are able to beautify your documents to be exactly the way you want. It allows you to change the style and appearance of an HTML document. You can change the font, colors, backgrounds, borders, layout, and margins (as well as the padding but that is a different beast).
CSS applies style changes globally so you don’t have to worry about making changes on an individual level. So if something doesn’t look the way you want it to in your document, you can change it in one place and it is applied everywhere. It keeps things consistent.
As I stated earlier, the challenge with CSS is figuring out how it communicates with HTML. The basic version is that CSS defines specific styles for each element in an HTML document. The style sheet will be a series of code chunks that look like this:
element{
  property_1: value;
  property_2: value;
}
Note that each line setting a property value has to end with a semicolon delimiter. An annoyingly easy thing to miss and it will seriously mess up your code.
Learning the Properties of the Elements
The meat of your CSS code is going to be the properties that live and are defined within the curly brackets. There are quite a few properties that exist. So the question remains: How in the world do you learn them all?
The way I have learned how to write CSS code is to use what someone has already made. When making a blog through blogdown, you select a Hugo theme to use. That theme comes with the HTML and CSS necessary to create a webpage. However, the theme I chose, while wonderfully laid out, did not follow the color scheme I preferred. I looked through the CSS and with the help of a Hex Color Code website, I was able to develop a color palette and apply it to my style sheet. When I was attempting to figure out how to adjust the margins, I found a the W3 Schools site. Here, they include wonderful documentation and examples of how properties change the appearance of elements.
So my method for learning CSS is to borrow from code that people have already made. It will contain everything I need to work appropriately when it is applied. Then I adjust it as I need to. Slowly but surely, my adjustments turn the premade style into what I was looking for. Using code that someone much more knowledgeable in writing CSS gave me a place to start. Some code to mess with and a safe place to return to in case I broke too much. As I change the code again and again, I began to notice repeating properties and things have started to make more sense. I still have a long way to go before I can write CSS code on my own, but I am feeling more comfortable.
Like Properly Made Potions
The following are a few examples of common CSS adjustments that I have run into since I began messing with these types of files.
As I mentioned in the discussion of R Markdown previously, one of the options available is to designate the CSS file for the program to use to build you document. You can change this in the header of the file. Just make sure that the CSS file is in the same folder as the .Rmd file for your document. Alternatively, you can use a CSS code chunk within the document to add new CSS rules directly, keeping everything contained in one file. An example of the code chunk adjusting the font size in paragraphs:
```{css, echo=FALSE}
p {
  font-size: 32px;
}
```
The first time I tested how CSS files worked was when I made presentation slides using xaringan, another package from Yihui Xie, [@xieyihui](https://twitter.com/xieyihui). When you initally create your slides through xaringan, a new file opens with a similar header to an RMarkdown document. There, you should find an option to define the CSS file.
---
output:
  xaringan::moon_reader:
    css: [default, custom.css]
---
The package comes with premade CSS files that can be found by running the function xaringan:::list_css(). It is recommended that you want to create a custom file to hold all of the changes you want to make to the CSS. This way you don’t overwrite the defaults that are installed with the package.
Copying the code into a custom file and slowly figuring out what properties and values to change, I was able to go from a plain white background slide collection to one themed around the game and film Clue. An example of the CSS code is provided below. In this code, I am using a class to define a category of slides. The styling will only be applied to the slides that are members of this class.
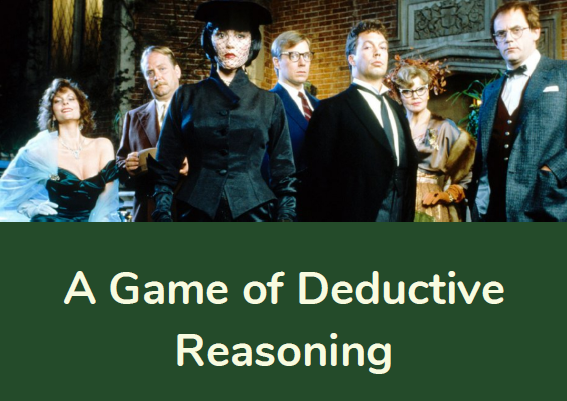
.game-divide{
  background-image: url(img/clue_characters.png);
  background-color: #244b2a;
  background-size: contain;
  background-position: center top;
}